Blossoms of Time: The Art and Science of Preserving Floral Memories
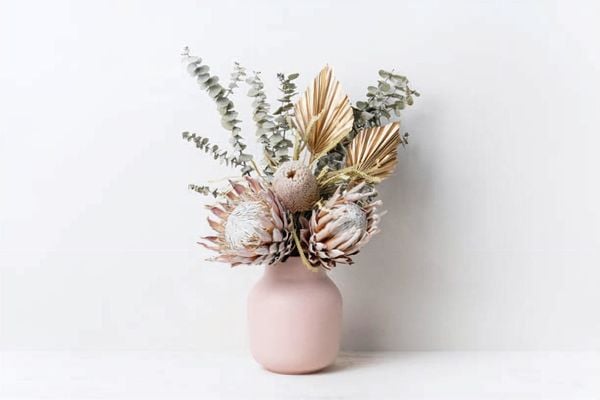
The Importance of Flowers in Our Lives
Flowers have played a significant role in human culture for centuries, symbolizing love, friendship, and important life events. They can transform our living spaces and evoke cherished memories. In fact, our love for flowers transcends time and space, and their significance can be found in numerous blog posts, such as the ones found on Lily's Florist.
For example, a Lily's Florist blog post highlights the daffodil as the birth month flower for March, symbolizing rebirth and new beginnings. In another post, Lily's Florist shares unique flower gift ideas for Women's Month, celebrating women's achievements and impact on our lives.
Flower Symbolism and Superstitions
Throughout history, flowers have held specific meanings and symbolism in various cultures. Some flowers are even associated with superstitions that can change the way we perceive them. For an intriguing look at some of these flower superstitions, check out this Lily's Florist blog post. Understanding the cultural significance of flowers can add depth to your floral preservation projects and make them even more meaningful.
Zodiac Flowers and Birth Month Flowers
Incorporating zodiac flowers or birth month flowers into your preservation projects can add a personal touch and make them extra special. Each zodiac sign has a corresponding flower, as explained in this two-part series on Lily's Florist: Part 1 and Part 2. Similarly, every month has a designated birth flower, such as the daffodil for March. These flowers carry specific meanings and symbolism, making your preserved flower creations more thoughtful and unique.
Importance of preserving memories through drying and pressing flowers
As flowers eventually wilt and fade, preserving them can help maintain their beauty and the memories they hold. Drying and pressing flowers is a popular method of preservation, allowing you to create stunning art pieces, décor items, or unique keepsakes.
Selecting Flowers for Preservation
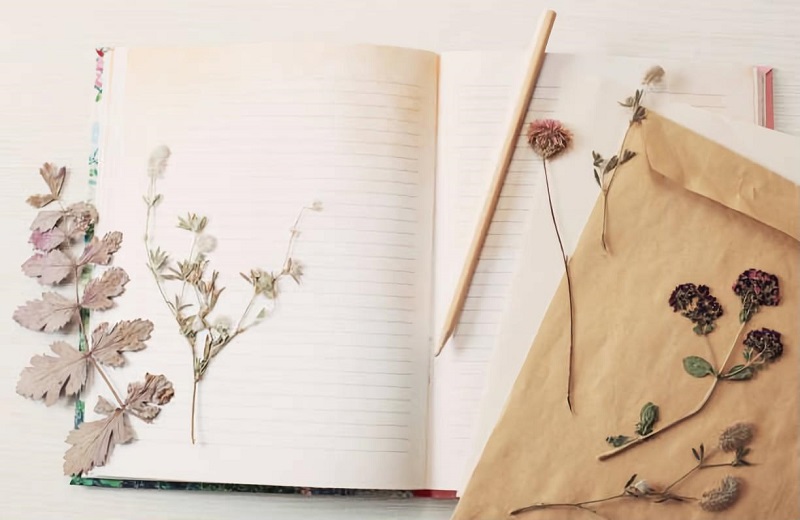
Ideal flower types for drying and pressing
While many flowers can be dried and pressed successfully, certain types are more suitable for preservation due to their structural characteristics, moisture content, and overall durability. Here's a list of ideal flower types for drying and pressing, along with some tips for achieving the best results:
1. Roses
Roses are a popular choice for drying and pressing due to their classic beauty and wide range of colors. For best results, choose fully opened roses and remove any damaged or blemished petals before beginning the preservation process.
2. Pansies and Violas
Pansies and violas have relatively flat petals, making them perfect candidates for pressing. Their vibrant colors and interesting patterns also add visual appeal to preserved flower arrangements and crafts.
3. Hydrangeas
Hydrangeas can be both air-dried and pressed successfully, thanks to their sturdy structure and low moisture content. When pressing hydrangeas, choose blooms that are just past their peak to ensure that the petals are firm and less likely to bruise.
4. Ferns and Leaves
Ferns and leaves add texture and variety to pressed flower compositions. Their flat structure and relatively low moisture content make them well-suited for pressing. Choose healthy, blemish-free specimens for the best results.
5. Lavender
Lavender is an excellent option for drying and pressing due to its low moisture content and strong fragrance, which is retained even after the preservation process. Lavender can be air-dried in small bundles or pressed individually for a variety of uses.
6. Baby's Breath
Baby's breath, with its small, delicate blooms and intricate branching structure, adds a whimsical touch to preserved flower arrangements. This flower type dries well using air-drying or desiccant drying techniques.
7. Orchids
Orchids, known for their exotic beauty and unique shapes, can be successfully pressed if handled with care. Choose orchids that are just starting to open and ensure that the petals are fully supported during the pressing process to maintain their intricate form.
8. Larkspur
Larkspur's tall, spiky blooms and vibrant colors make it an attractive choice for drying and pressing. Harvest larkspur when the blooms are partially opened, and use desiccant drying methods to preserve the vibrant colors.
9. Daisies
Daisies, with their simple, cheerful appearance and sturdy structure, are well-suited for pressing. Choose daisies that are fully opened but not yet past their prime for the best results.
These are just a few examples of the many flower types that can be dried and pressed effectively. Experiment with different flowers to discover which ones work best for your preservation projects and personal preferences.
Picking flowers at the right time
Selecting the right moment to pick flowers for preservation is crucial in order to maintain their vibrant colors, delicate shapes, and overall beauty. Here are some essential tips on when and how to harvest flowers for optimal results in the preservation process:
Tip 1: Choose the right time of day
The ideal time to pick flowers for preservation is during the early morning, after the dew has evaporated but before the heat of the day sets in. This is when flowers are well-hydrated and at their freshest. Avoid picking flowers during the hottest part of the day, as they may be wilted or stressed from the heat, which can impact their appearance when preserved.
Tip 2: Pick flowers at the right stage of bloom
Selecting flowers at the proper stage of bloom is vital for successful preservation. For most flowers, the best time to pick them is when they are just starting to open or are only partially opened. This is because flowers will continue to open slightly during the drying or pressing process. However, some flowers, like roses, should be picked when they are fully opened to capture their full beauty.
Tip 3: Consider the flower type
Different flowers have varying lifespans and optimal picking times. For example, flowers with a short blooming period, like lilies or irises, should be picked as soon as they start to open. On the other hand, flowers with a longer blooming period, like roses or sunflowers, can be harvested at various stages of their bloom cycle.
Tip 4: Look for healthy, blemish-free flowers
When picking flowers for preservation, choose specimens that are free from damage, blemishes, or signs of disease. This will ensure that your preserved flowers maintain their beauty and remain in good condition for years to come.
Tip 5: Harvest more flowers than you need
It's a good idea to pick more flowers than you think you'll need for your preservation project. This allows for some margin of error and provides extra flowers in case some are damaged during the preservation process or don't turn out as expected.
Tip 6: Handle with care
When harvesting flowers, handle them gently to avoid bruising or damaging the petals. Use clean, sharp scissors or pruning shears to cut the stems at an angle, which allows for better water absorption and helps maintain the freshness of the flowers until they're ready for preservation.
Preparing flowers for the preservation process
Before preserving flowers, remove any dirt or insects and gently shake off excess water. Trim the stems, leaving only a small portion for handling. Carefully arrange the flowers to avoid overlapping petals, as this could lead to mold or uneven pressing.
Essential Tools and Materials
To preserve your flowers effectively, it's important to have the right tools and materials on hand. These essential items will ensure that your flowers are preserved with the utmost care, retaining their beauty and shape for the long term.
Types of presses and their advantages
There are various types of flower presses available, each with its own set of advantages. Traditional flower presses are simple, consisting of two flat boards and adjustable screws at each corner. These presses are easy to use and can accommodate a wide range of flower types.
Another option is a microwave flower press, which is specifically designed for use in a microwave oven. This type of press allows for a faster drying process, preserving the vibrant colors of your flowers more effectively.
Paper and cardboard selection
The type of paper and cardboard you use for pressing flowers is crucial. Acid-free paper, such as blotting paper or watercolor paper, is ideal for preserving the colors and preventing damage to the flowers. Cardboard is used to provide support and structure to the press, ensuring that the flowers are pressed evenly.
Desiccants and their roles
Desiccants are materials that help absorb moisture and promote the drying process. Silica gel, white cornmeal, and borax are common desiccants used in flower preservation. They play a crucial role in maintaining the shape and color of the flowers while preventing mold and decay.
Additional tools and materials
Aside from the items mentioned above, you may also need a few other tools and materials to enhance your flower preservation experience. A pair of sharp scissors or pruning shears is useful for trimming stems and leaves. Tweezers can help you handle delicate flowers without damaging them. Finally, a small brush may be needed to remove any remaining desiccant or debris from the preserved flowers before display or storage.
Traditional Flower Pressing Techniques
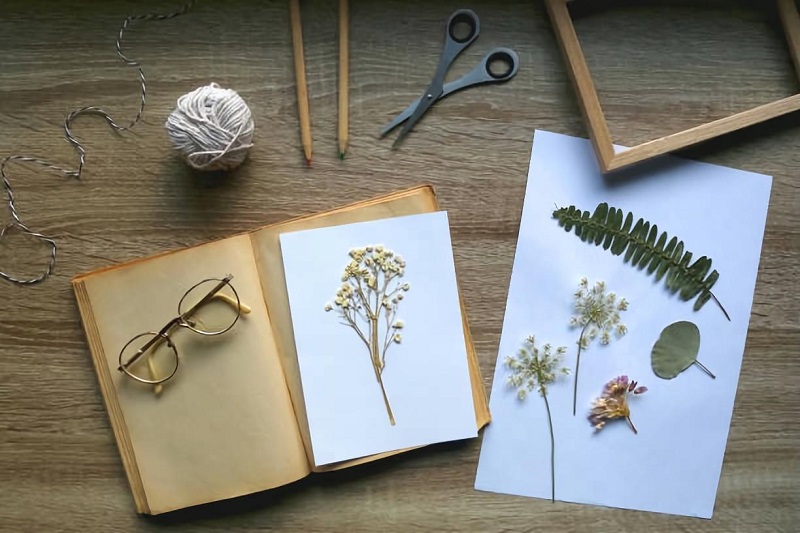
Pressing flowers using heavy books
One of the simplest methods of flower pressing involves placing flowers between sheets of absorbent paper and placing them inside a heavy book. Stack additional books or weights on top and wait for several weeks for the flowers to dry.
DIY flower press construction and usage
Creating a DIY flower press is simple and cost-effective. Use two pieces of non-glossy cardboard, place the flowers between sheets of absorbent paper, and secure the press with rubber bands, clamps, or bolts. Allow the flowers to dry for several weeks.
Commercial flower press options and considerations
Commercial flower presses are available for those who want a more efficient and professional option. These presses often include adjustable screws and moisture-absorbing materials. When choosing a commercial press, consider factors such as size, material, and price.
Advanced Flower Pressing Techniques
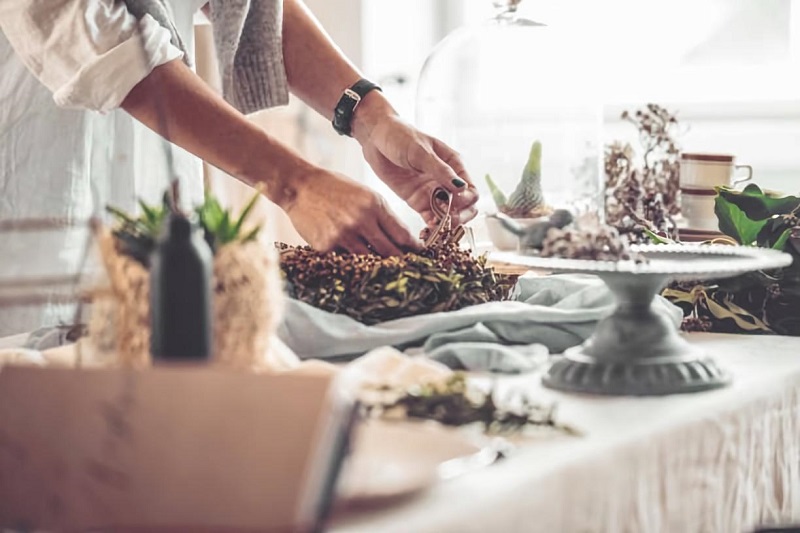
Microwave flower pressing
Microwave flower pressing is an advanced technique that allows you to quickly preserve flowers while retaining their vibrant colors and delicate shapes. This method is particularly useful for flowers with high moisture content or when you need to speed up the preservation process. Here's a step-by-step guide on how to press flowers using a microwave:
Step 1: Gather your materials
For microwave flower pressing, you'll need the following items:
- Microwave-safe flower press or ceramic tiles
- Microwave-safe dish or tray
- Paper towels or absorbent paper
- Microwave oven
Step 2: Prepare the flowers
Select fresh, healthy flowers free from blemishes and damage. Trim the stems and leaves, and gently pat the flowers dry with a soft cloth or paper towel to remove any excess moisture.
Step 3: Assemble the microwave press
Place a sheet of paper towel or absorbent paper on the bottom tile or microwave-safe dish. Arrange the flowers on the paper, ensuring they are not overlapping. Place another sheet of paper towel or absorbent paper on top of the flowers, followed by the top tile or an additional microwave-safe dish.
Step 4: Microwave the flowers
Place the assembled press in the microwave oven. Set the microwave to a low power setting and start with a short time interval, such as 30 seconds. It's important to proceed with caution, as microwaving for too long or at a high power setting can cause the flowers to burn or become discolored.
Step 5: Check the flowers
Carefully remove the press from the microwave and let it cool for a minute or two. Open the press and check the flowers for dryness. If the flowers are not completely dry, reassemble the press with fresh paper towels or absorbent paper and microwave again in short intervals until the desired level of dryness is achieved.
Step 6: Allow the flowers to cool
Once the flowers are dry, carefully remove them from the press and let them cool completely. This step is crucial, as any residual heat may cause the flowers to become brittle or discolored.
Step 7: Store or display the pressed flowers
After the flowers have cooled, you can store them in an airtight container or display them in a creative manner, such as framing them, incorporating them into resin art, or designing homemade cards and bookmarks.
Vacuum flower pressing
Vacuum flower pressing involves using a vacuum-sealed container and a desiccant to create an environment that rapidly draws out moisture. This method results in well-preserved flowers with vibrant colors and minimal shape distortion.
Pressing flowers using silica gel
Silica gel is a highly effective desiccant that can be used to press flowers, preserving their vibrant colors and intricate shapes. This method is particularly useful for flowers with high moisture content or delicate structures that may be damaged by traditional pressing techniques. Here's a step-by-step guide on how to press flowers using silica gel:
Step 1: Gather your materials
For pressing flowers with silica gel, you'll need the following items:
- Silica gel (available at craft stores or online)
- Airtight container or sealable plastic bag
- Flowers of your choice
- Tweezers or small brush (optional)
Step 2: Prepare the flowers
Choose fresh, healthy flowers free from blemishes and damage. Gently trim the stems and leaves, and pat the flowers dry with a soft cloth or paper towel to remove any excess moisture.
Step 3: Prepare the container
Pour a layer of silica gel into the bottom of the airtight container or sealable plastic bag. The layer should be approximately 1-2 inches deep, depending on the size and thickness of the flowers you're pressing.
Step 4: Arrange the flowers
Place the flowers face-up on the layer of silica gel, ensuring that they are not touching or overlapping. If the flowers have a more complex structure, you may need to use tweezers or a small brush to gently arrange the petals in the desired position.
Step 5: Cover the flowers with silica gel
Carefully pour more silica gel over the flowers, making sure to cover them completely. The silica gel should fill in all the spaces between the petals and around the flower, providing support and promoting even drying.
Step 6: Seal the container
Close the airtight container or seal the plastic bag securely. This step is crucial to maintaining the effectiveness of the silica gel and ensuring optimal drying conditions for the flowers.
Step 7: Wait for the flowers to dry
Allow the flowers to dry in the sealed container for approximately 3-7 days, depending on the size and moisture content of the flowers. Check the container periodically to monitor the progress and ensure that no mold or decay is developing.
Step 8: Remove the flowers from the silica gel
Once the flowers are dry and pressed, carefully remove them from the silica gel using tweezers or a small brush. Be gentle, as the flowers may be delicate and fragile.
Step 9: Store or display the pressed flowers
After removing the flowers from the silica gel, you can store them in an airtight container or display them creatively, such as in a frame, as part of botanical resin art, or in homemade cards and bookmarks.
Flower Drying Techniques
Air drying
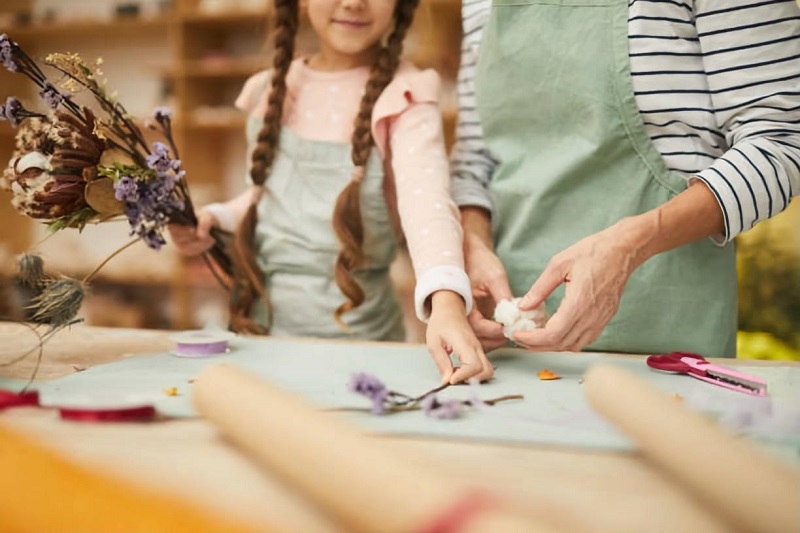
Air drying is a simple and natural method for preserving flowers. Hang the flowers upside down in a dry, dark, and well-ventilated area. This method can take several weeks but requires minimal effort and materials.
Oven drying
Oven drying is a fast and efficient method for preserving flowers, especially for those with a high moisture content. This technique involves using low heat to remove moisture from the flowers, allowing them to maintain their shape and color. Here's a step-by-step guide on how to oven-dry flowers:
Step 1: Preheat the oven
Preheat your oven to a low temperature, typically between 100°F (38°C) and 200°F (93°C). Lower temperatures help to prevent the flowers from becoming too brittle or losing their color.
Step 2: Prepare the flowers
Gently remove any damaged or blemished petals and leaves from the flowers. Trim the stems to your desired length, but leave enough to handle the flowers easily.
Step 3: Create a drying rack
To ensure proper air circulation during the drying process, create a makeshift drying rack by placing a wire rack on a baking sheet. Alternatively, you can use an oven-safe cooling rack placed directly on the oven rack.
Step 4: Arrange the flowers
Carefully place the flowers on the drying rack, ensuring that they don't touch each other. This will prevent them from sticking together and ensure that they dry evenly. For flowers with a high moisture content, consider using a layer of parchment paper or a silicone baking mat to prevent sticking.
Step 5: Dry the flowers
Place the drying rack with the flowers in the preheated oven. Keep the oven door slightly ajar to allow moisture to escape and prevent overheating. The drying time will vary depending on the type of flower and the oven temperature, but it typically takes between 1 and 4 hours.
Step 6: Check for dryness
Periodically check the flowers for dryness by gently touching the petals. When the flowers feel dry and papery to the touch, remove them from the oven. Be sure to use oven mitts or tongs to handle the hot drying rack.
Step 7: Cool and store
Allow the dried flowers to cool completely on the drying rack. Once cooled, carefully store the flowers in an airtight container or use them in your desired craft or display project.
While oven drying is an effective method for preserving flowers, it's important to note that delicate flowers and those with thin petals may not be suitable for this technique. In these cases, consider using alternative methods like air drying or desiccant drying for optimal results.
Desiccant drying
Desiccant drying is an excellent method for preserving flowers, particularly delicate blooms and those with high moisture content. This technique involves using a desiccant material, such as silica gel or borax, to absorb moisture from the flowers while maintaining their original shape and color. Here's a step-by-step guide on how to dry flowers using desiccants:
Step 1: Choose a desiccant
Select a desiccant material that's suitable for drying flowers. Popular choices include silica gel, which is available in craft stores and online, and borax, which can be found in the laundry aisle of most supermarkets.
Step 2: Prepare the flowers
Gently remove any damaged or blemished petals and leaves from the flowers. Trim the stems to your desired length, but leave enough to handle the flowers easily.
Step 3: Choose a container
Select a container that's large enough to hold the flowers without crowding or damaging them. Airtight plastic containers or glass jars with tight-fitting lids work well for this purpose.
Step 4: Add a layer of desiccant
Pour a layer of desiccant into the bottom of the container, creating a base that's approximately 1 to 2 inches (2.5 to 5 cm) deep. This layer will support the flowers and help to absorb moisture during the drying process.
Step 5: Arrange the flowers
Carefully place the flowers on the layer of desiccant, ensuring that they don't touch each other or the sides of the container. For larger flowers or those with complex shapes, you may need to gently press the desiccant around the petals and other areas to provide even coverage and support.
Step 6: Cover with desiccant
Carefully pour more desiccant over the flowers, making sure to cover them completely. The desiccant should fill any gaps between the petals and other crevices to ensure even drying and support.
Step 7: Seal the container
Place the lid on the container, ensuring a tight seal to prevent moisture from entering during the drying process.
Step 8: Allow the flowers to dry
Store the container in a cool, dry place for a period ranging from several days to a few weeks, depending on the type of flower and the desiccant used. Silica gel tends to dry flowers more quickly than borax, with some flowers requiring as little as 2 to 3 days to dry completely.
Step 9: Check for dryness
Carefully open the container and gently touch the petals of the flowers. If they feel dry and papery, the drying process is complete. If not, reseal the container and allow the flowers to dry for a few more days.
Step 10: Remove the flowers
Gently pour off the desiccant, revealing the dried flowers. Use a soft brush to remove any remaining desiccant particles from the petals and other areas.
Step 11: Store or use the dried flowers
Store the dried flowers in an airtight container, or use them in your desired craft or display project.
Desiccant drying is a versatile and effective method for preserving a wide variety of flowers. With a little practice, you can achieve stunning results that maintain the original beauty of your blooms.
Preserving Color and Shape
Techniques to maintain vibrant colors
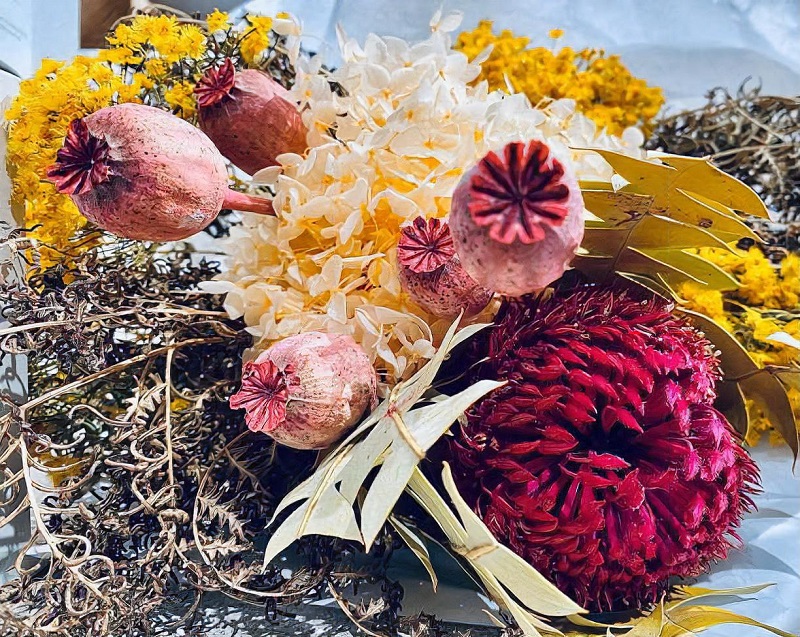
To maintain vibrant colors in preserved flowers, choose flowers with strong pigmentation, store them in a dark and dry environment, and avoid direct sunlight. Using a desiccant like silica gel can also help retain color.
Strategies for retaining original flower shape
To retain the original shape of flowers during preservation, handle them gently and avoid overlapping petals. Use a desiccant to help maintain shape and prevent distortion.
Preventing mold and decay
Preserving flowers requires careful attention to prevent mold and decay, which can compromise the beauty and longevity of your floral memories. The following tips and techniques will help you minimize the risk of mold and decay during the preservation process:
Ensure proper ventilation and airflow
Air circulation is essential for preventing mold growth during the flower drying and pressing processes. Be sure to dry and press flowers in a well-ventilated area with low humidity to minimize the chances of mold development.
Use desiccants
Desiccants, such as silica gel, white cornmeal, or borax, are highly effective at absorbing moisture from flowers during the preservation process. These materials help maintain the shape and color of the flowers while preventing mold and decay. When using desiccants, ensure that you follow the instructions for proper usage and change them out as needed to maintain their effectiveness.
Remove excess moisture before pressing
Before pressing flowers, gently pat them dry with a soft cloth or paper towel to remove any excess moisture. This step will help reduce the risk of mold and decay during the pressing process. For flowers with a high moisture content, consider air-drying them for a few hours before pressing to remove any excess moisture.
Monitor the drying process
Regularly check on your flowers during the drying and pressing processes to ensure that they are progressing well and to detect any signs of mold or decay. If you notice any mold or decay, remove the affected flowers immediately to prevent the problem from spreading to other flowers.
Store preserved flowers properly
Once your flowers are dried and pressed, store them in a cool, dry, and dark environment to prevent mold growth and decay. Displaying your preserved flowers behind glass or in a sealed frame can also help protect them from moisture and dust.
Creative Display and Storage Ideas
Framing pressed flowers
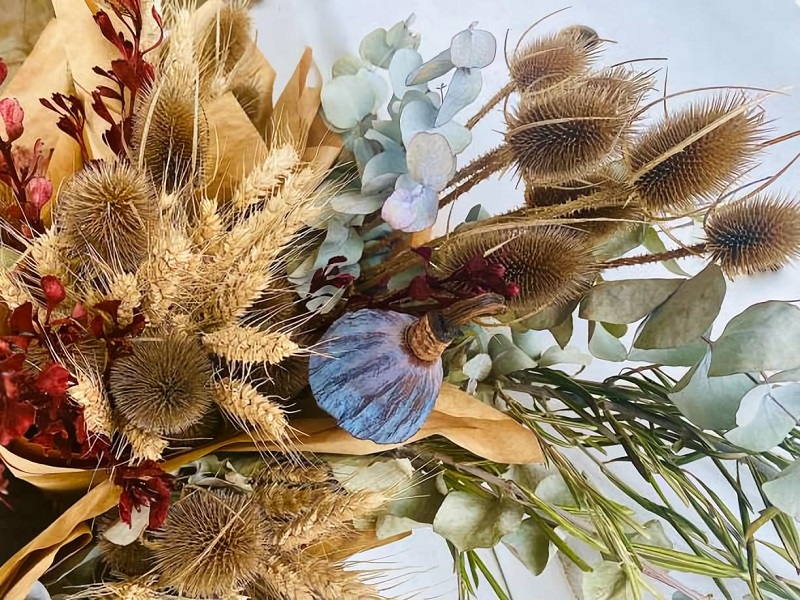
Pressed flowers can be beautifully displayed in frames, either as single specimens or in intricate arrangements. Choose a frame with UV-resistant glass to protect the flowers from sunlight and fading.
Creating botanical resin art
Botanical resin art is a unique way to showcase preserved flowers. Embed flowers in clear resin to create stunning pieces of jewelry, paperweights, or decorative objects.
Designing homemade cards and bookmarks
Pressed flowers can be used to create charming homemade cards and bookmarks, perfect for personal use or as thoughtful gifts. Simply adhere the flowers to cardstock or heavy paper using glue or other adhesives.
Troubleshooting Common Issues
Resolving uneven pressing
To prevent uneven pressing, ensure that flowers are properly arranged without overlapping petals. Use an even distribution of weight when pressing flowers, and check them periodically for progress.
Addressing color fading
Color fading can be mitigated by using a desiccant, storing preserved flowers away from sunlight, and choosing flowers with strong pigmentation. UV-resistant glass can also help protect framed flowers from fading.
Dealing with moisture-related problems
To address moisture-related issues, such as mold or decay, ensure that flowers are thoroughly dry before preservation. Use absorbent materials and store preserved flowers in a dry environment.
Caring for Your Preserved Flowers
Proper storage conditions
Store preserved flowers in a cool, dry, and dark environment to maintain their color, shape, and longevity. Avoid direct sunlight and humid conditions that could cause fading or mold growth.
Handling and cleaning techniques
Handle preserved flowers gently to avoid damage. To clean, use a soft brush or compressed air to gently remove dust.
Longevity and potential lifespan
With proper care and storage, preserved flowers can last for many years. Factors such as environmental conditions, flower type, and preservation method can impact their lifespan.
Summing up...
Recapping the process and benefits of flower preservation
Flower preservation is a beautiful and meaningful way to capture memories and create unique art and décor items. By selecting suitable flowers, using the appropriate preservation techniques, and caring for the preserved flowers, you can enjoy the beauty of these floral memories for years to come.
Encouraging readers to experiment with their unique floral memories
We encourage you to experiment with different preservation methods and creative displays to showcase your unique floral memories. Whether you choose traditional pressing techniques, advanced drying methods, or innovative resin art, the possibilities are endless.
Frequently Asked Questions (FAQs)
How long do pressed flowers last?
Pressed flowers can last for many years with proper care and storage. Factors such as environmental conditions, flower type, and preservation method can impact their lifespan.
Can I press flowers that have already started to wilt?
It is best to press flowers when they are at their prime or just before. However, it is still possible to press slightly wilted flowers, although the results may not be as vibrant or well-preserved.
What are some alternative methods for preserving flowers?
Alternative methods for preserving flowers include air drying, oven drying, desiccant drying, and creating botanical resin art.
Can I use hairspray or other sealants to protect my pressed flowers?
Hairspray and other sealants can help protect pressed flowers from moisture and fading. However, use them sparingly and test on a small area first to ensure compatibility with the flower type and preservation method.
Blog Categories
Recent posts
- When You’re in Charlotte and They’re in Boone: An Honest Guide to Watauga Medical Center Flower Delivery
- The Alvin TX Bouquet: Why Lilac Surprise Dominates 1 in 3 Orders
- 3 Must Have Plants For Loved Ones In Danville
- What Are Our Most Searched Flowers State by State
- What Is It About New Yorkers Love Of Flowers?
- 4 Flowers You’ll Want to Grow in Your Small Garden
